VPN/NAT setup
PPTP (Point to Point tunneling protocol) to L2TP (Layer 2 Tunneling Protocol)
Add 192.168.1 Network on ESXi Hosts
-
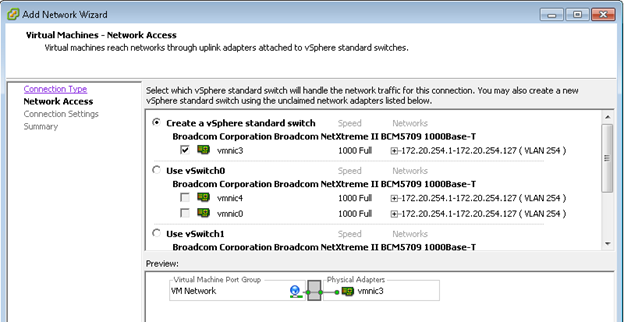
On ESXi1, Configuration>Networking> Add Networking>Virtual Machine

-
Select vmnic3
-
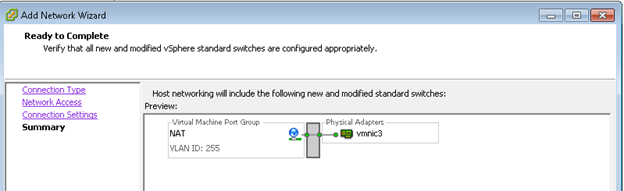
Name to NAT and set VLAN ID to 255

-
Finish
- Repeat the steps on esxi2
Add NAT (internal) network adapter on DC1
-
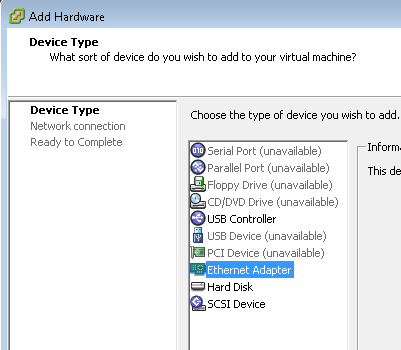
On Subca VM>Edit Settings>Hardware>Add Network Adapter
-
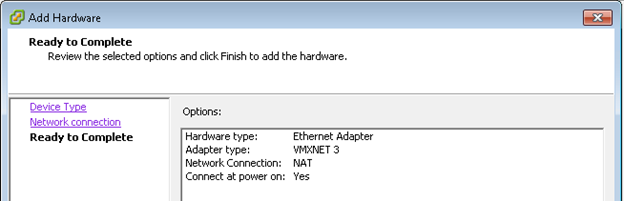
Set Network Type
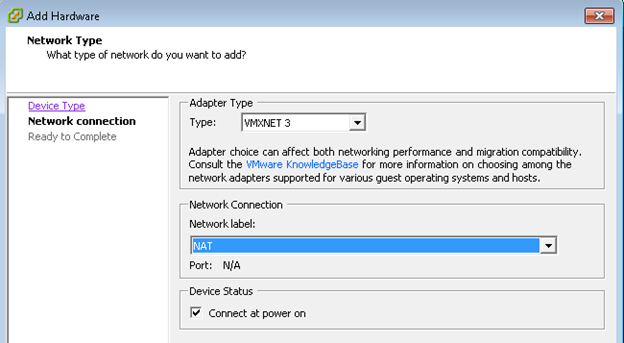
-
Finish
Setup 192.168.255 Subnet on NIC2
-
On subca, Change Network connections as below
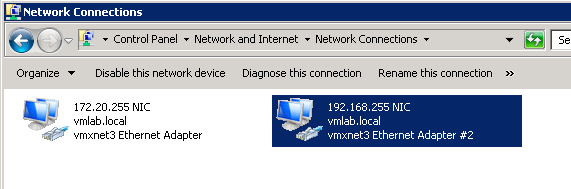
-
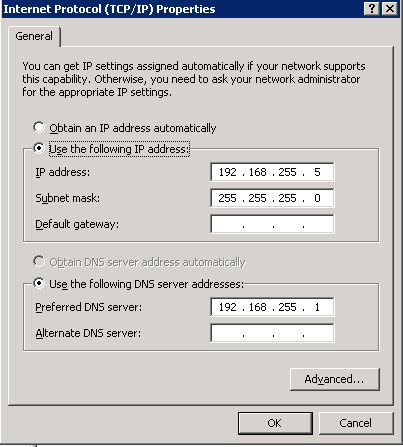
Set IP for 192.168.255
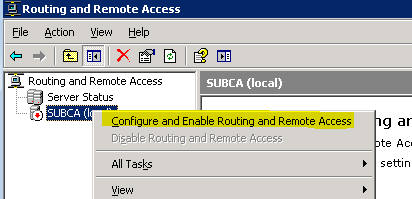
- Open Routing and Remote Access console
-
Right Click on Subca node, Configure and Enable Routing and Remote Access
-
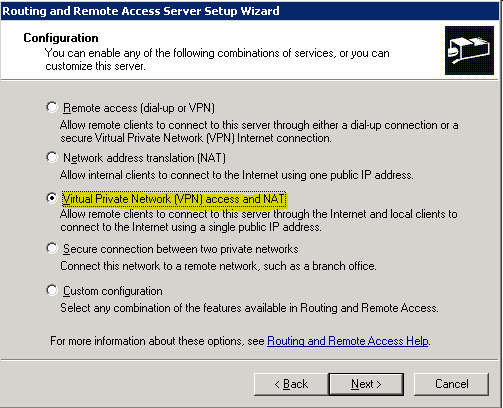
Select Virtual Private Network (VPN) Access and NAT
-
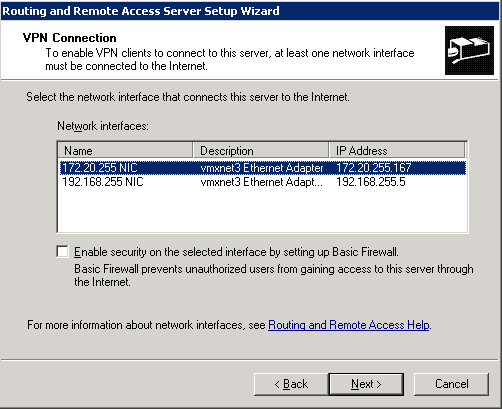
Select 172.20.255 NIC and Uncheck Basic Firewall option
-
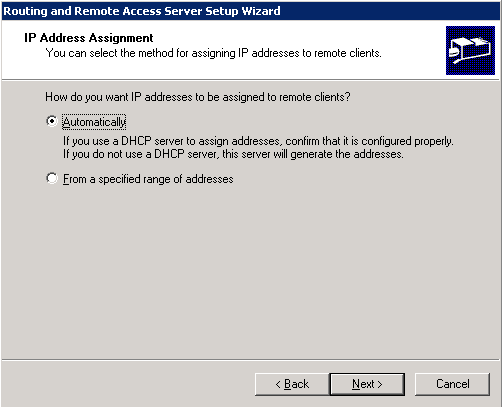
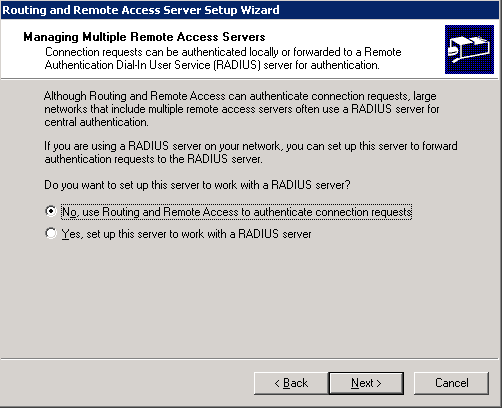
Automatically
-
Select no.
-
Finish
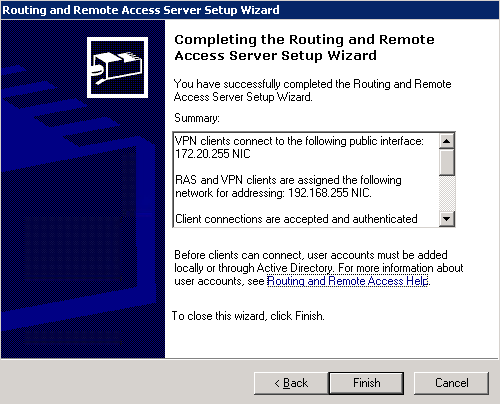
-
OK
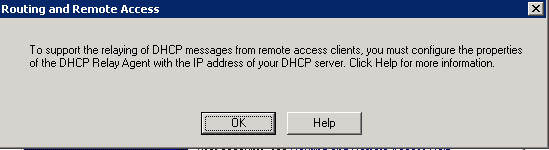
-
Right click on the Subca node> Properties
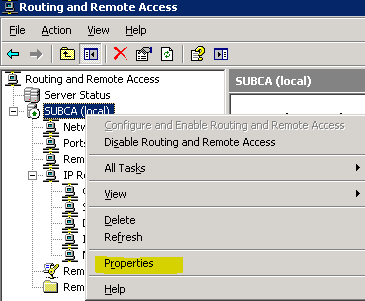
-
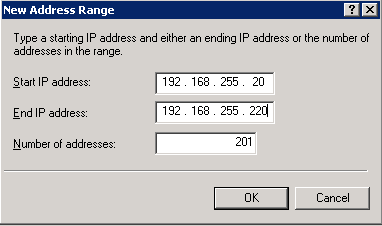
Select Static Address Pool under IP Tab and click Add
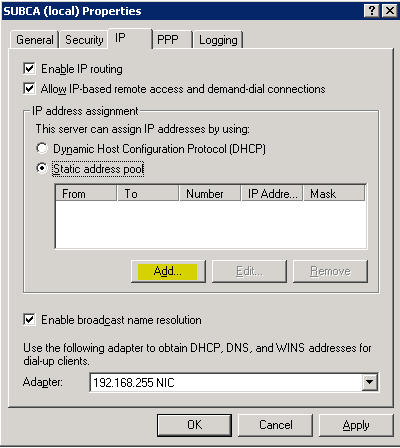
-
Set as like below
-
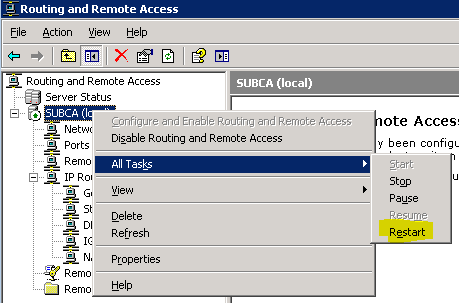
Restart Service
-
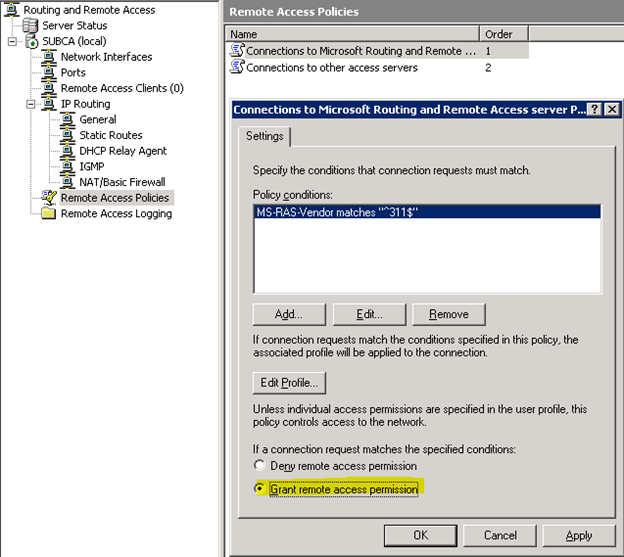
On Remote Access Policies> Connections to Microsoft Routing and Remote Access server>Grant remote Access Permissions
Test VPN
-
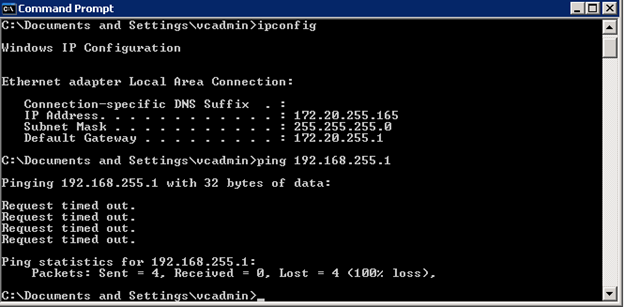
On Websvr1, open CMD and ipconfig to display the current IPs and subnet info. Then, ping to 192.168.255.1 which will be failed at the moment.
-
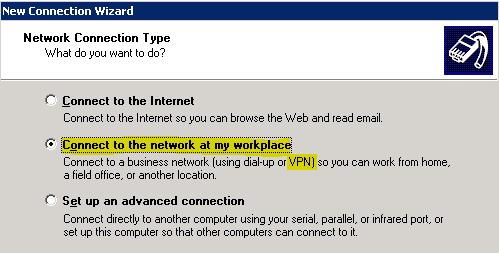
Create a New network connection

-
Select Connect to the network at my workplace (VPN)
-
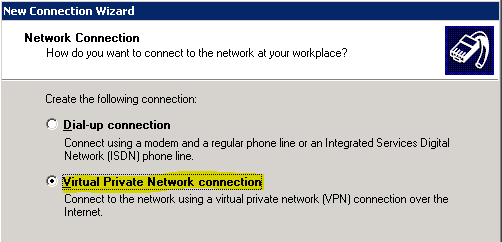
Virtual Private Network Connection
-
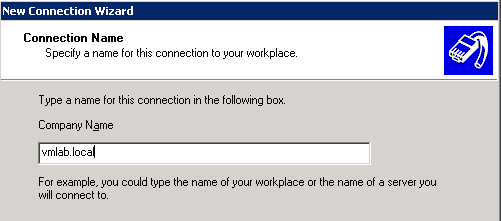
Input Company name
-
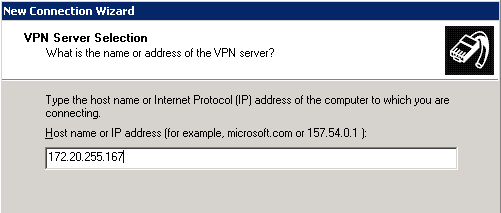
Input VPN server (subca) IP Address
-
My use only

-
Select to create a shortcut on my desktop

-
Input the credentials and Connect

-
The VPN will be connected

-
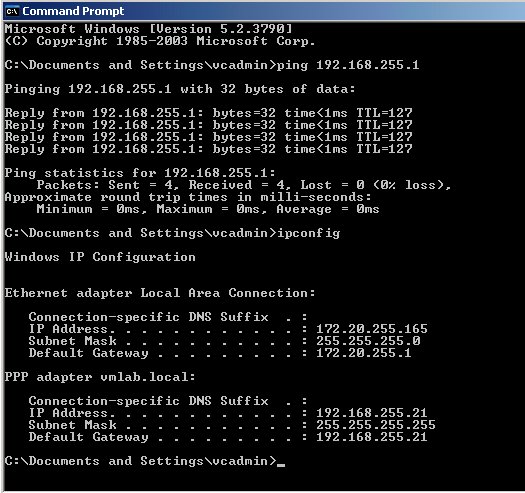
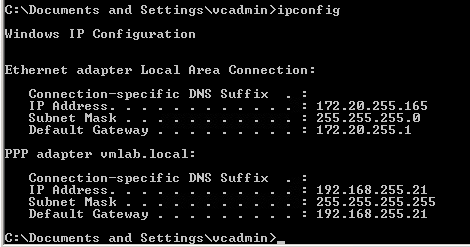
Ping 192.168.255.1 again to test if works. Also ipconfig shows two network connections as below. 192.168.255.21 which is assigned from the static IP pools.
NAT Setup
- On subca, Routing and Remote Access Console>IP Routing>NAT/Basic Firewall
-
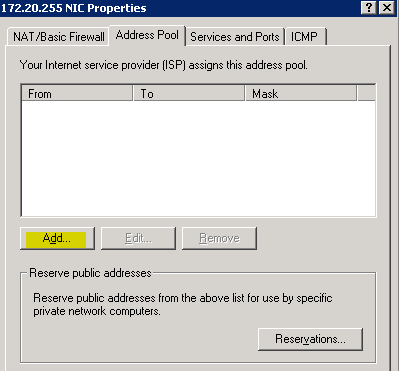
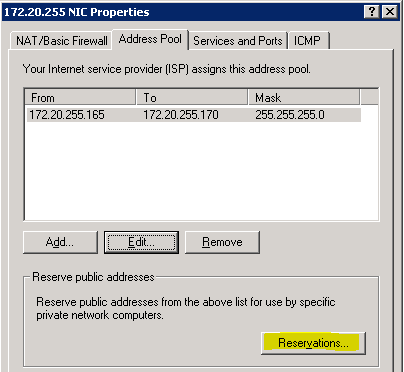
Right click on 172.20.255NIC >Properties>Address Pool>ADD
-
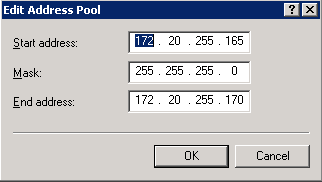
Add Pool like below
-
Click Reservations
-
Add reservation IPs
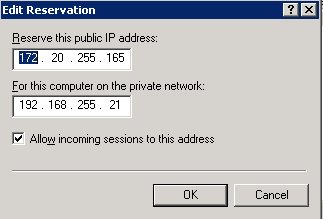
- So if any access from outside to 172.20.255.165, it will route traffic to 192.168.255.21
-
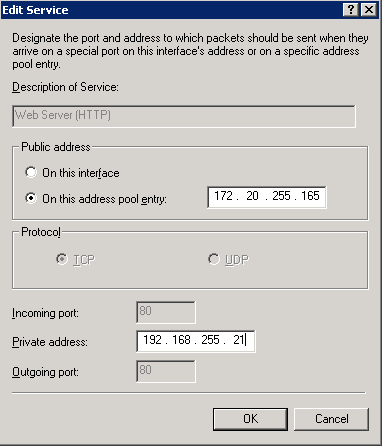
On Services and Ports Tab> select Web Server and set the addresses as below
NAT Test setup with websvr1
- To test NAT successfully within this lab environment, websvr1 should be connected to VPN.
-
On websvr1, connect to vmlab.local vpn connection to obtain IP in 192.168.255subnet and run ipconfig to obtain IP address
-
On websvr1, open IIS manager>Web Sites> open Properties of Default Web Site > click Advanced on Web Site Tab
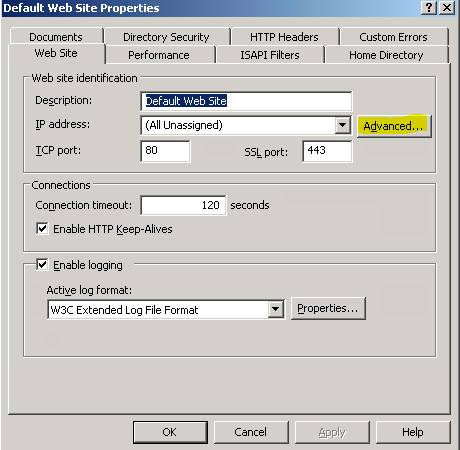
-
Select Default identities and Edit
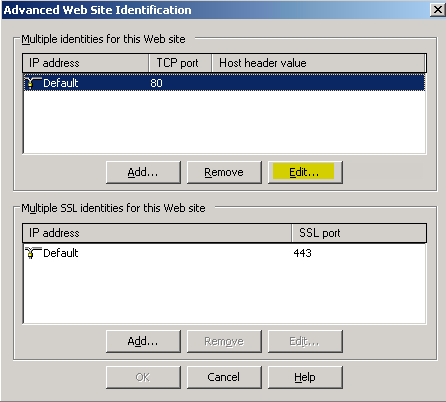
-
Set the web site identification as below
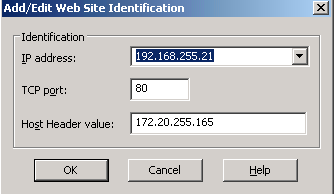
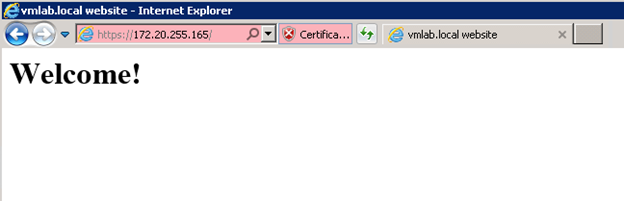
NAT Test
-
On DC1, open IE and try to access to www.vmlab.local (172.20.255.165). It should route to 192.168.255.21